Unwrap a model automatically
The easiest way to unwrap a model: one click finds the seams, flattens the pieces and packs them into the square. It's often all a model needs, and you can improve on it afterwards. The shapes in the File menu show what it does.
A cube
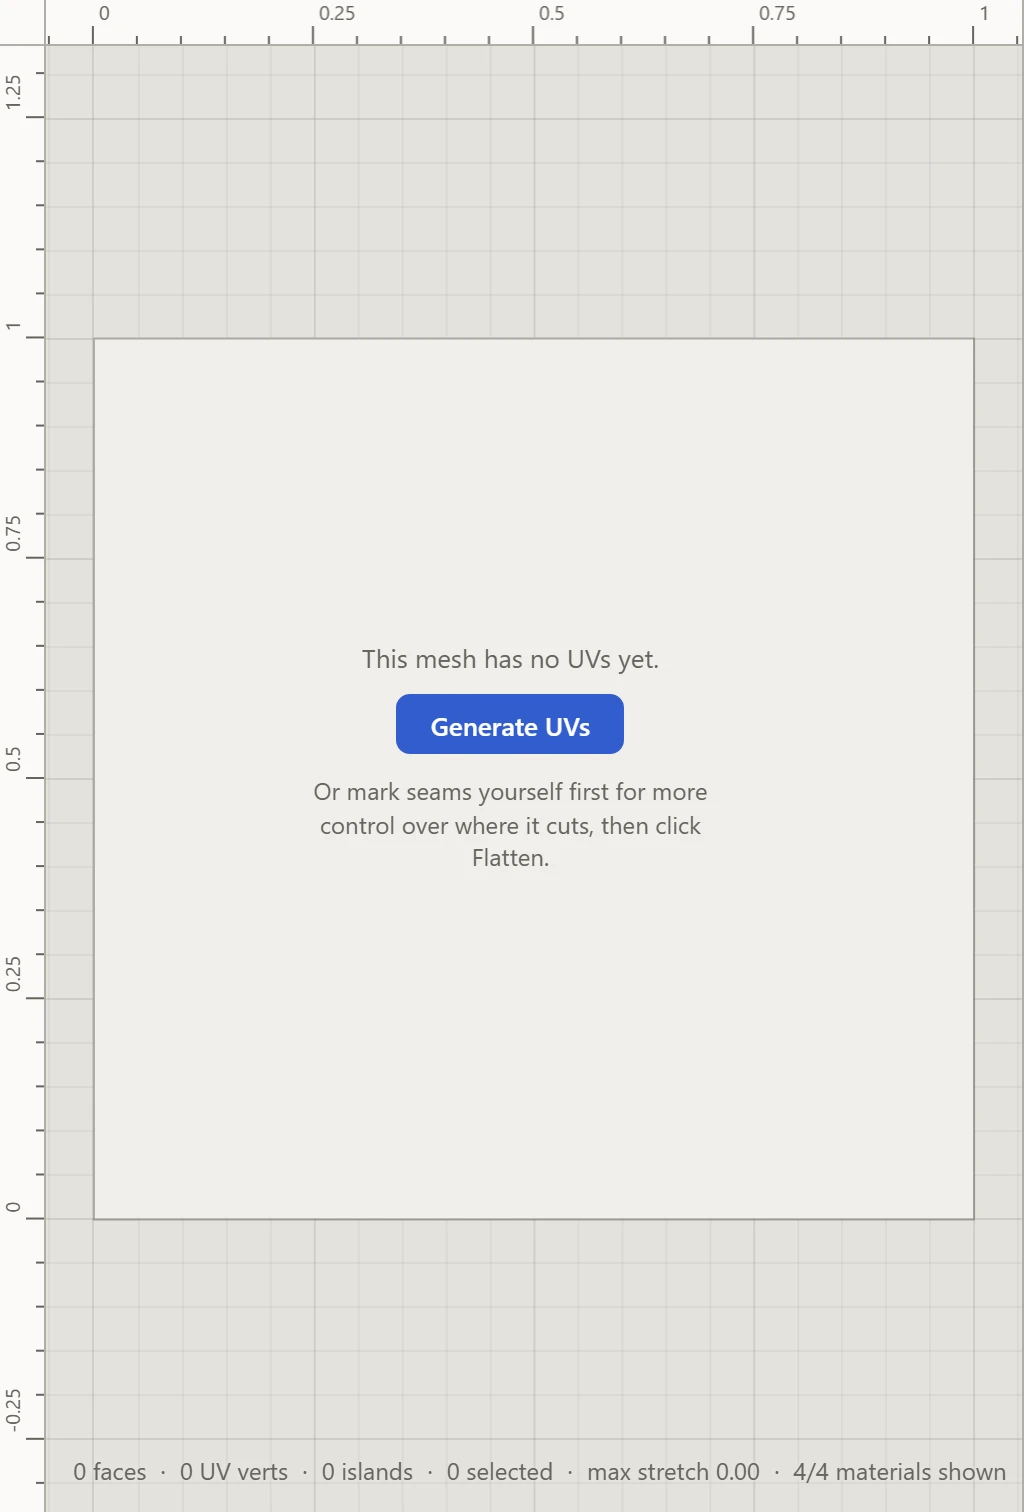
- Open File and, under Examples, with Pre-unwrapped unticked as it is to begin with, click the cube under Primitives. The UV Layout says it has no UVs yet.
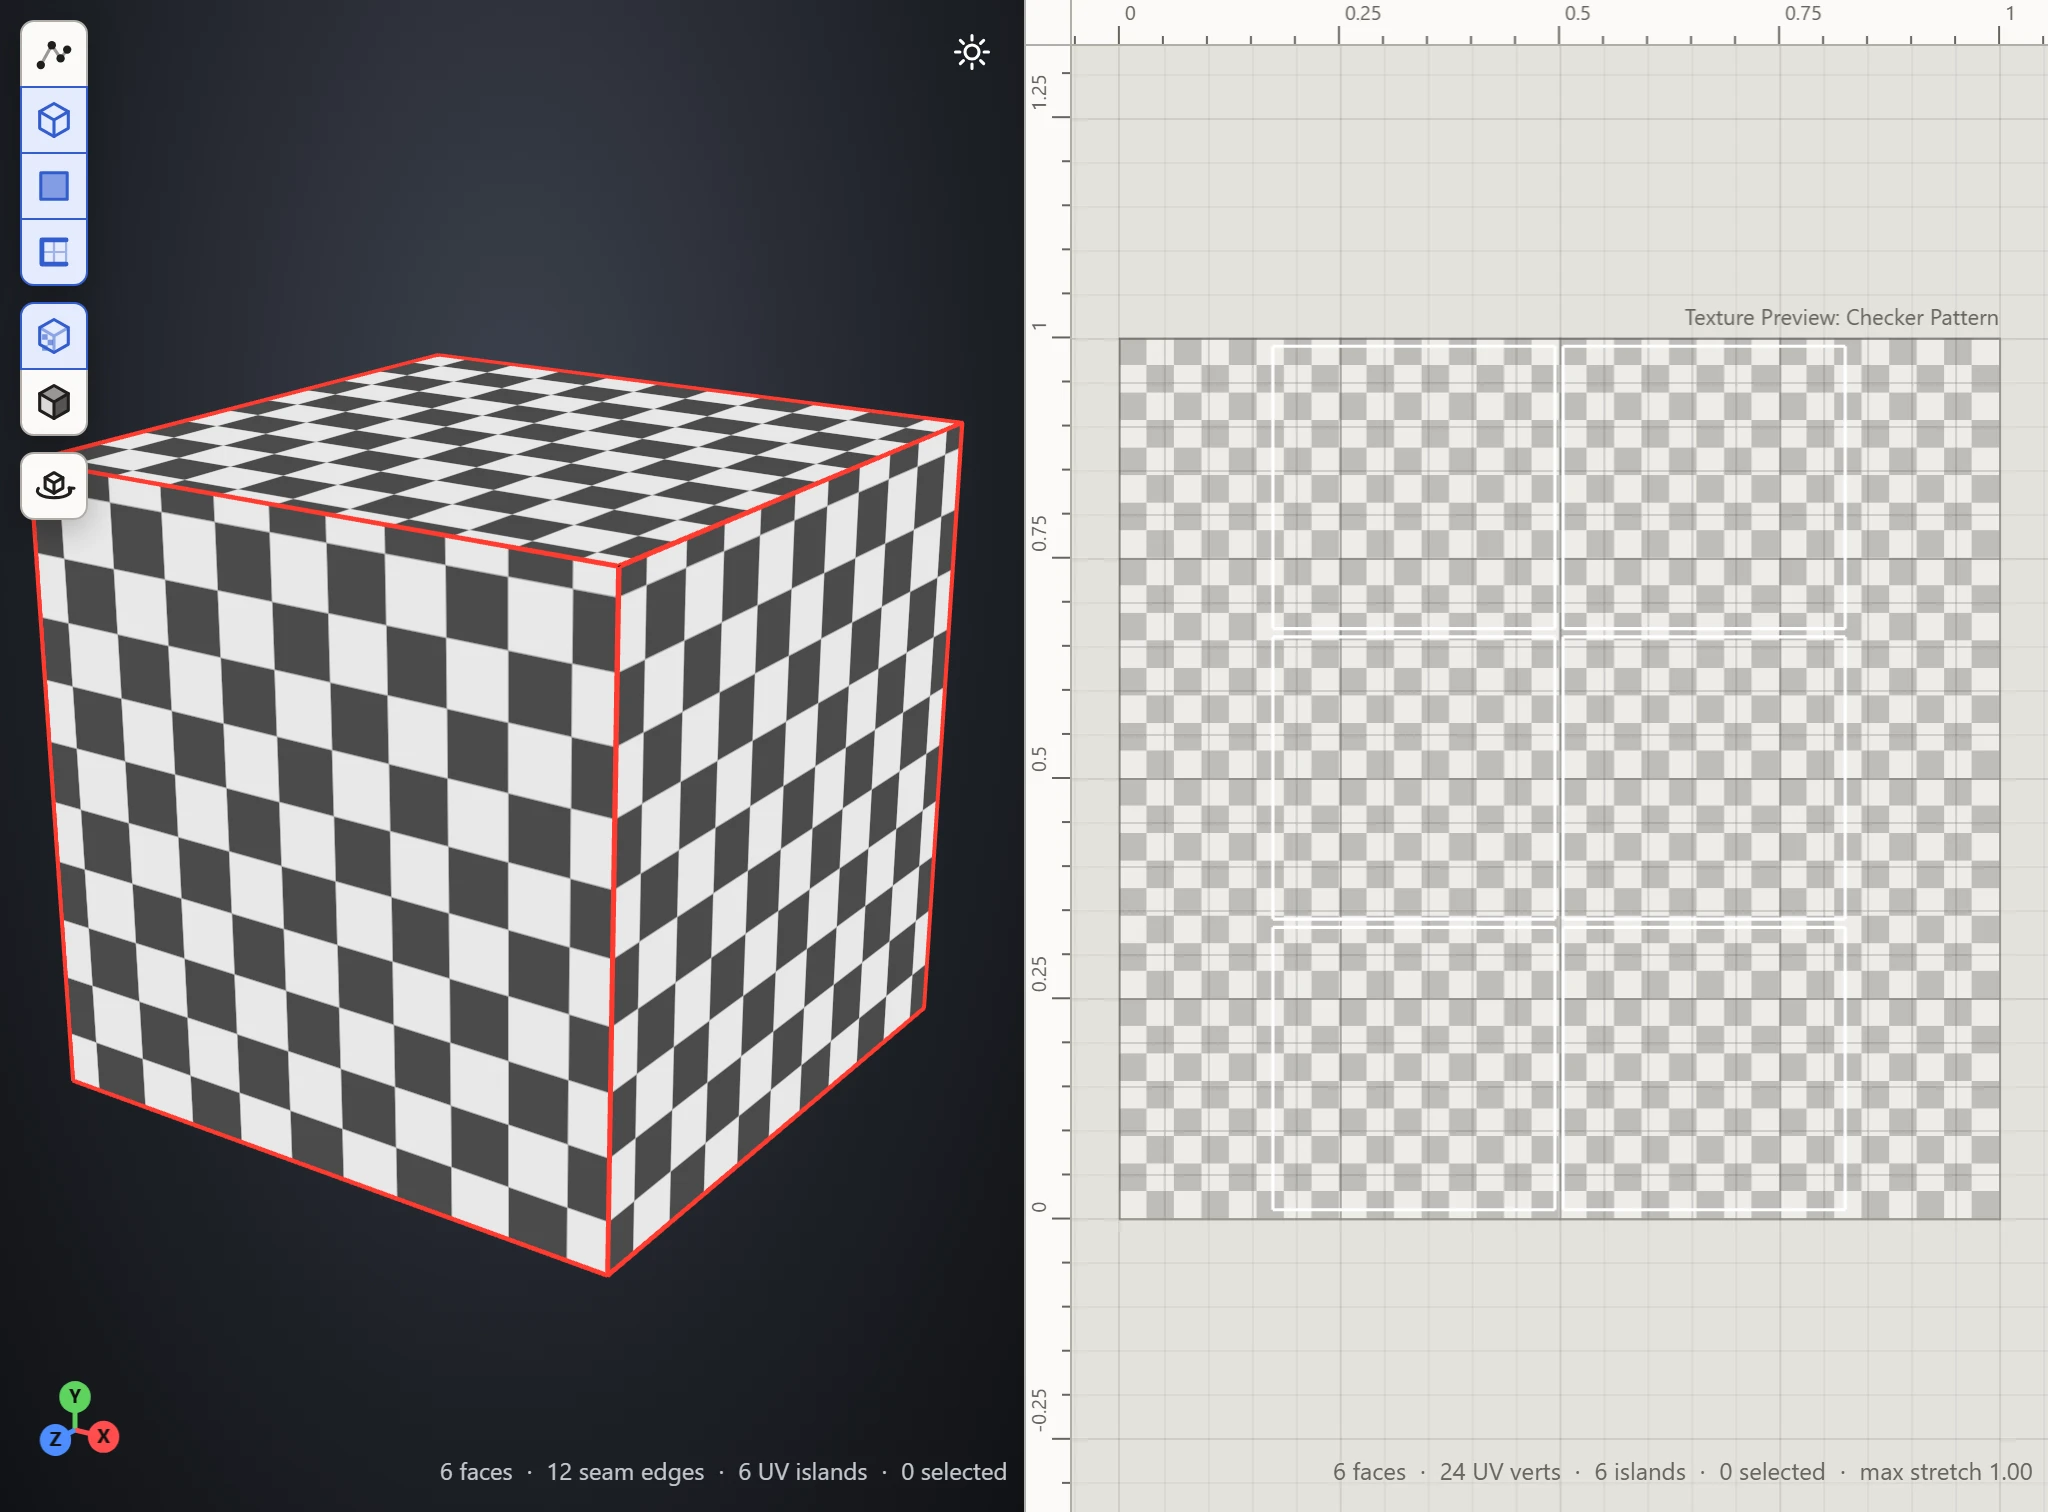
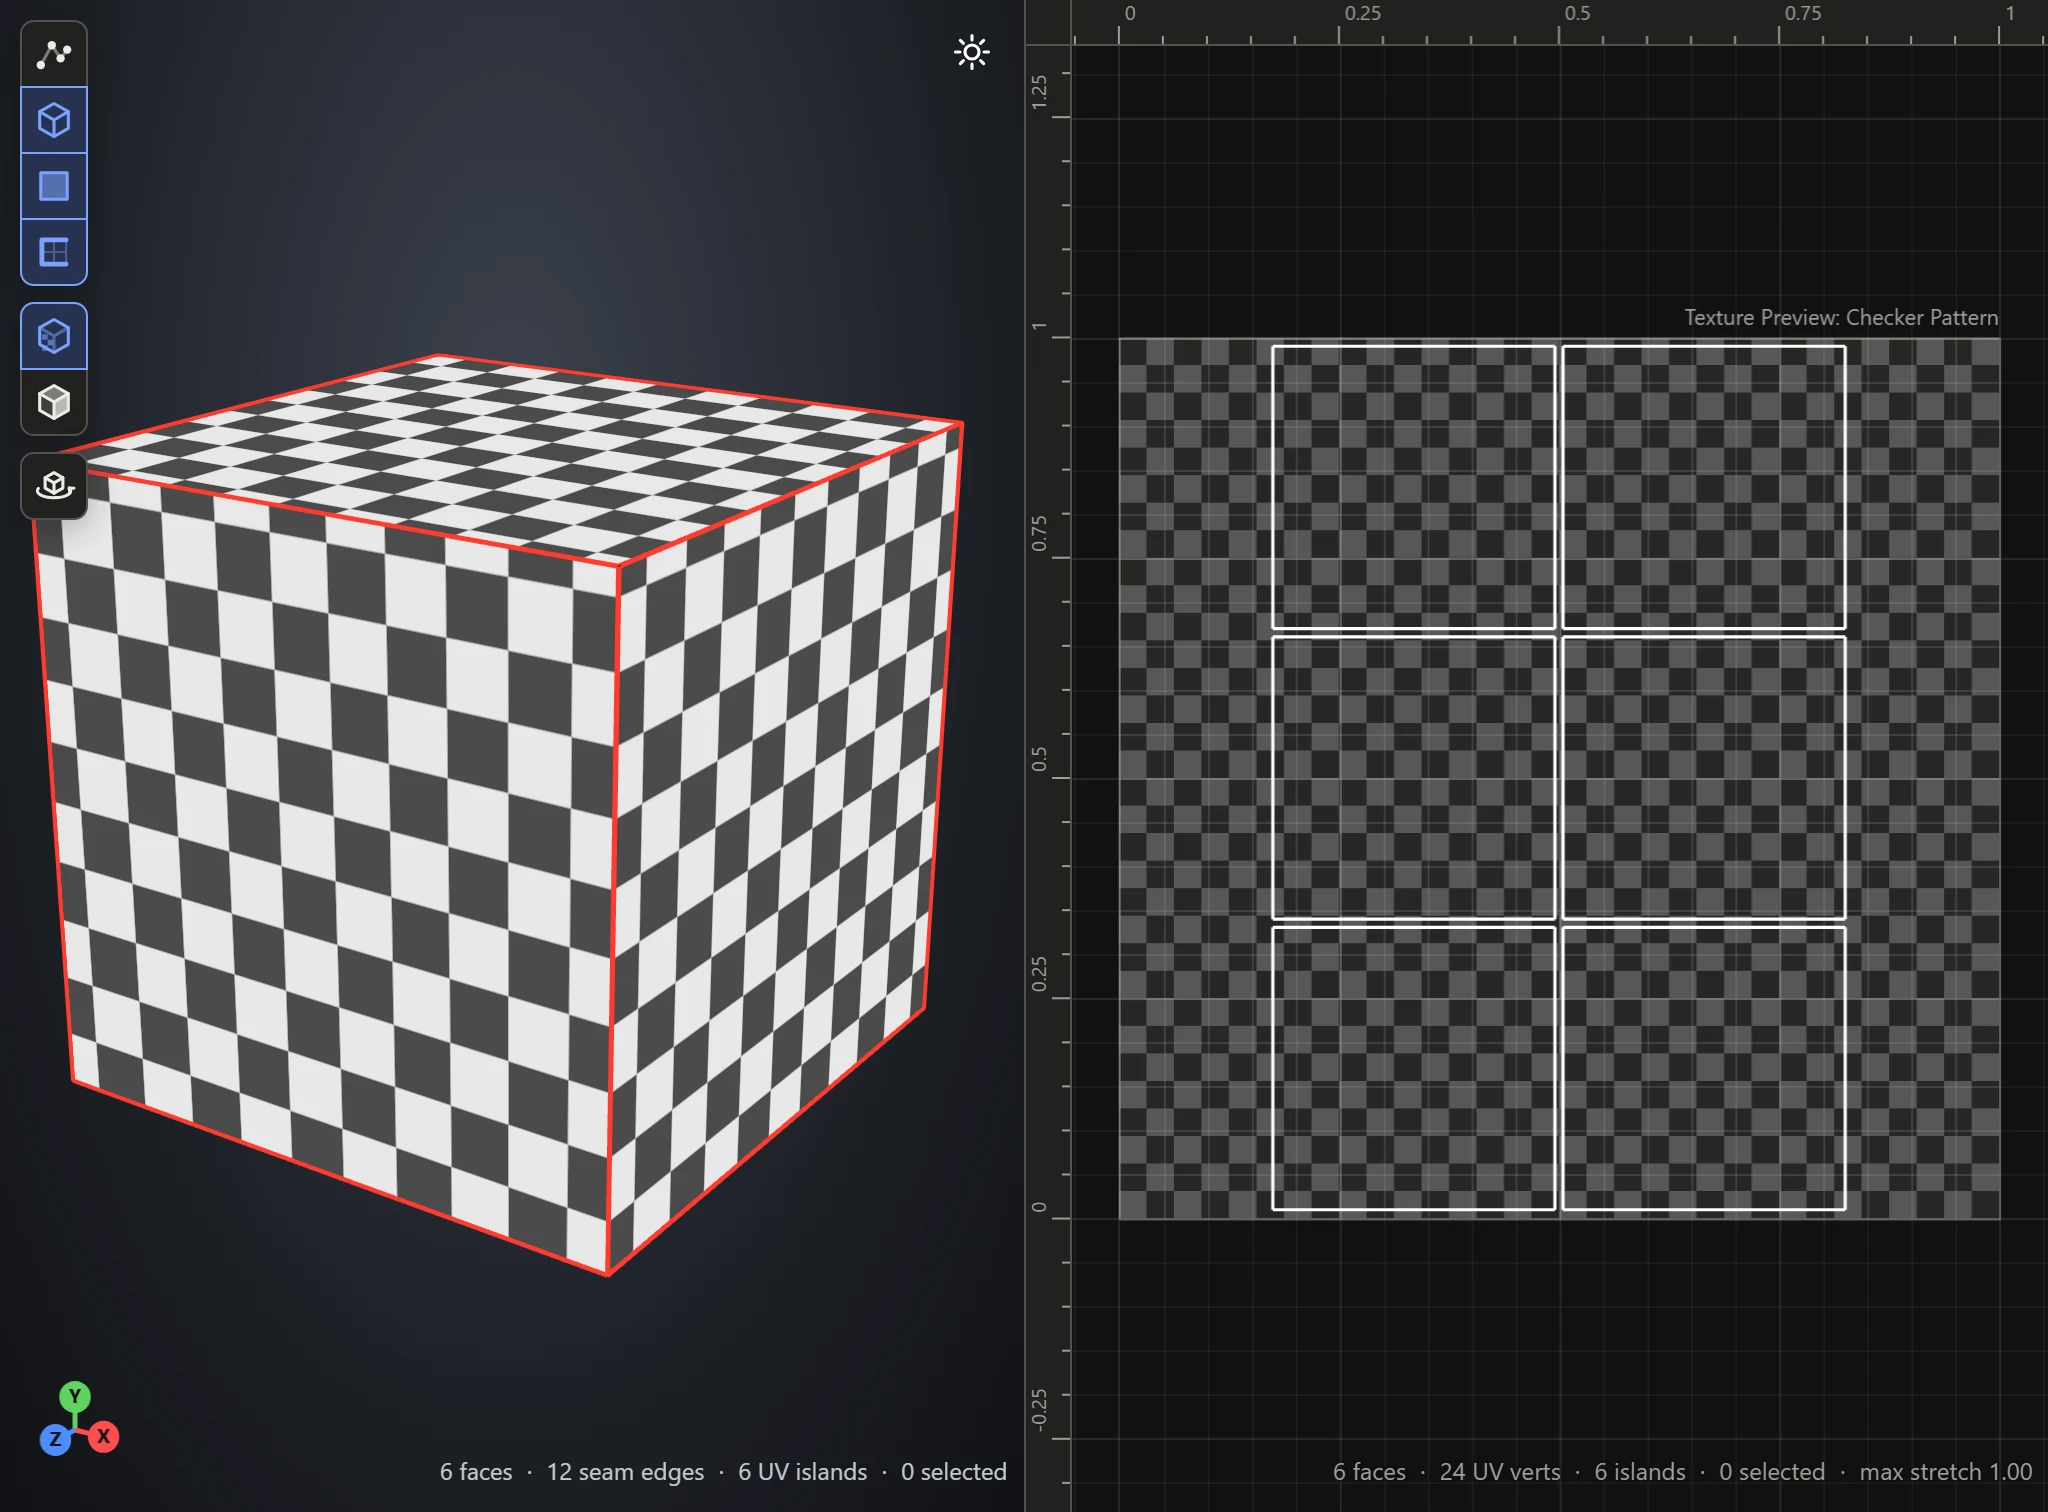
- Click Generate UVs. Every edge of a cube is sharp, so each face comes away as a square of its own, and the six are packed into the square.
A cylinder
- Open File and, with Pre-unwrapped still unticked, click the cylinder under Primitives.
- Click Generate UVs. The caps come off at their sharp rims and lie round, and the side opens along a line to lie flat.
A sphere
- Open File and, with Pre-unwrapped still unticked, click the sphere under Primitives.
- Click Generate UVs. A smooth closed shape has no sharp edges to cut along, so it's cut along the three planes through its middle into eight pieces, one for each octant. Each is small enough to lie nearly flat.
A model of your own
A model fresh from a sculpting or modeling program often has no UVs at all. Open it and the UV Layout offers the same button. See Generate UVs for how it decides where to cut.
Look it over
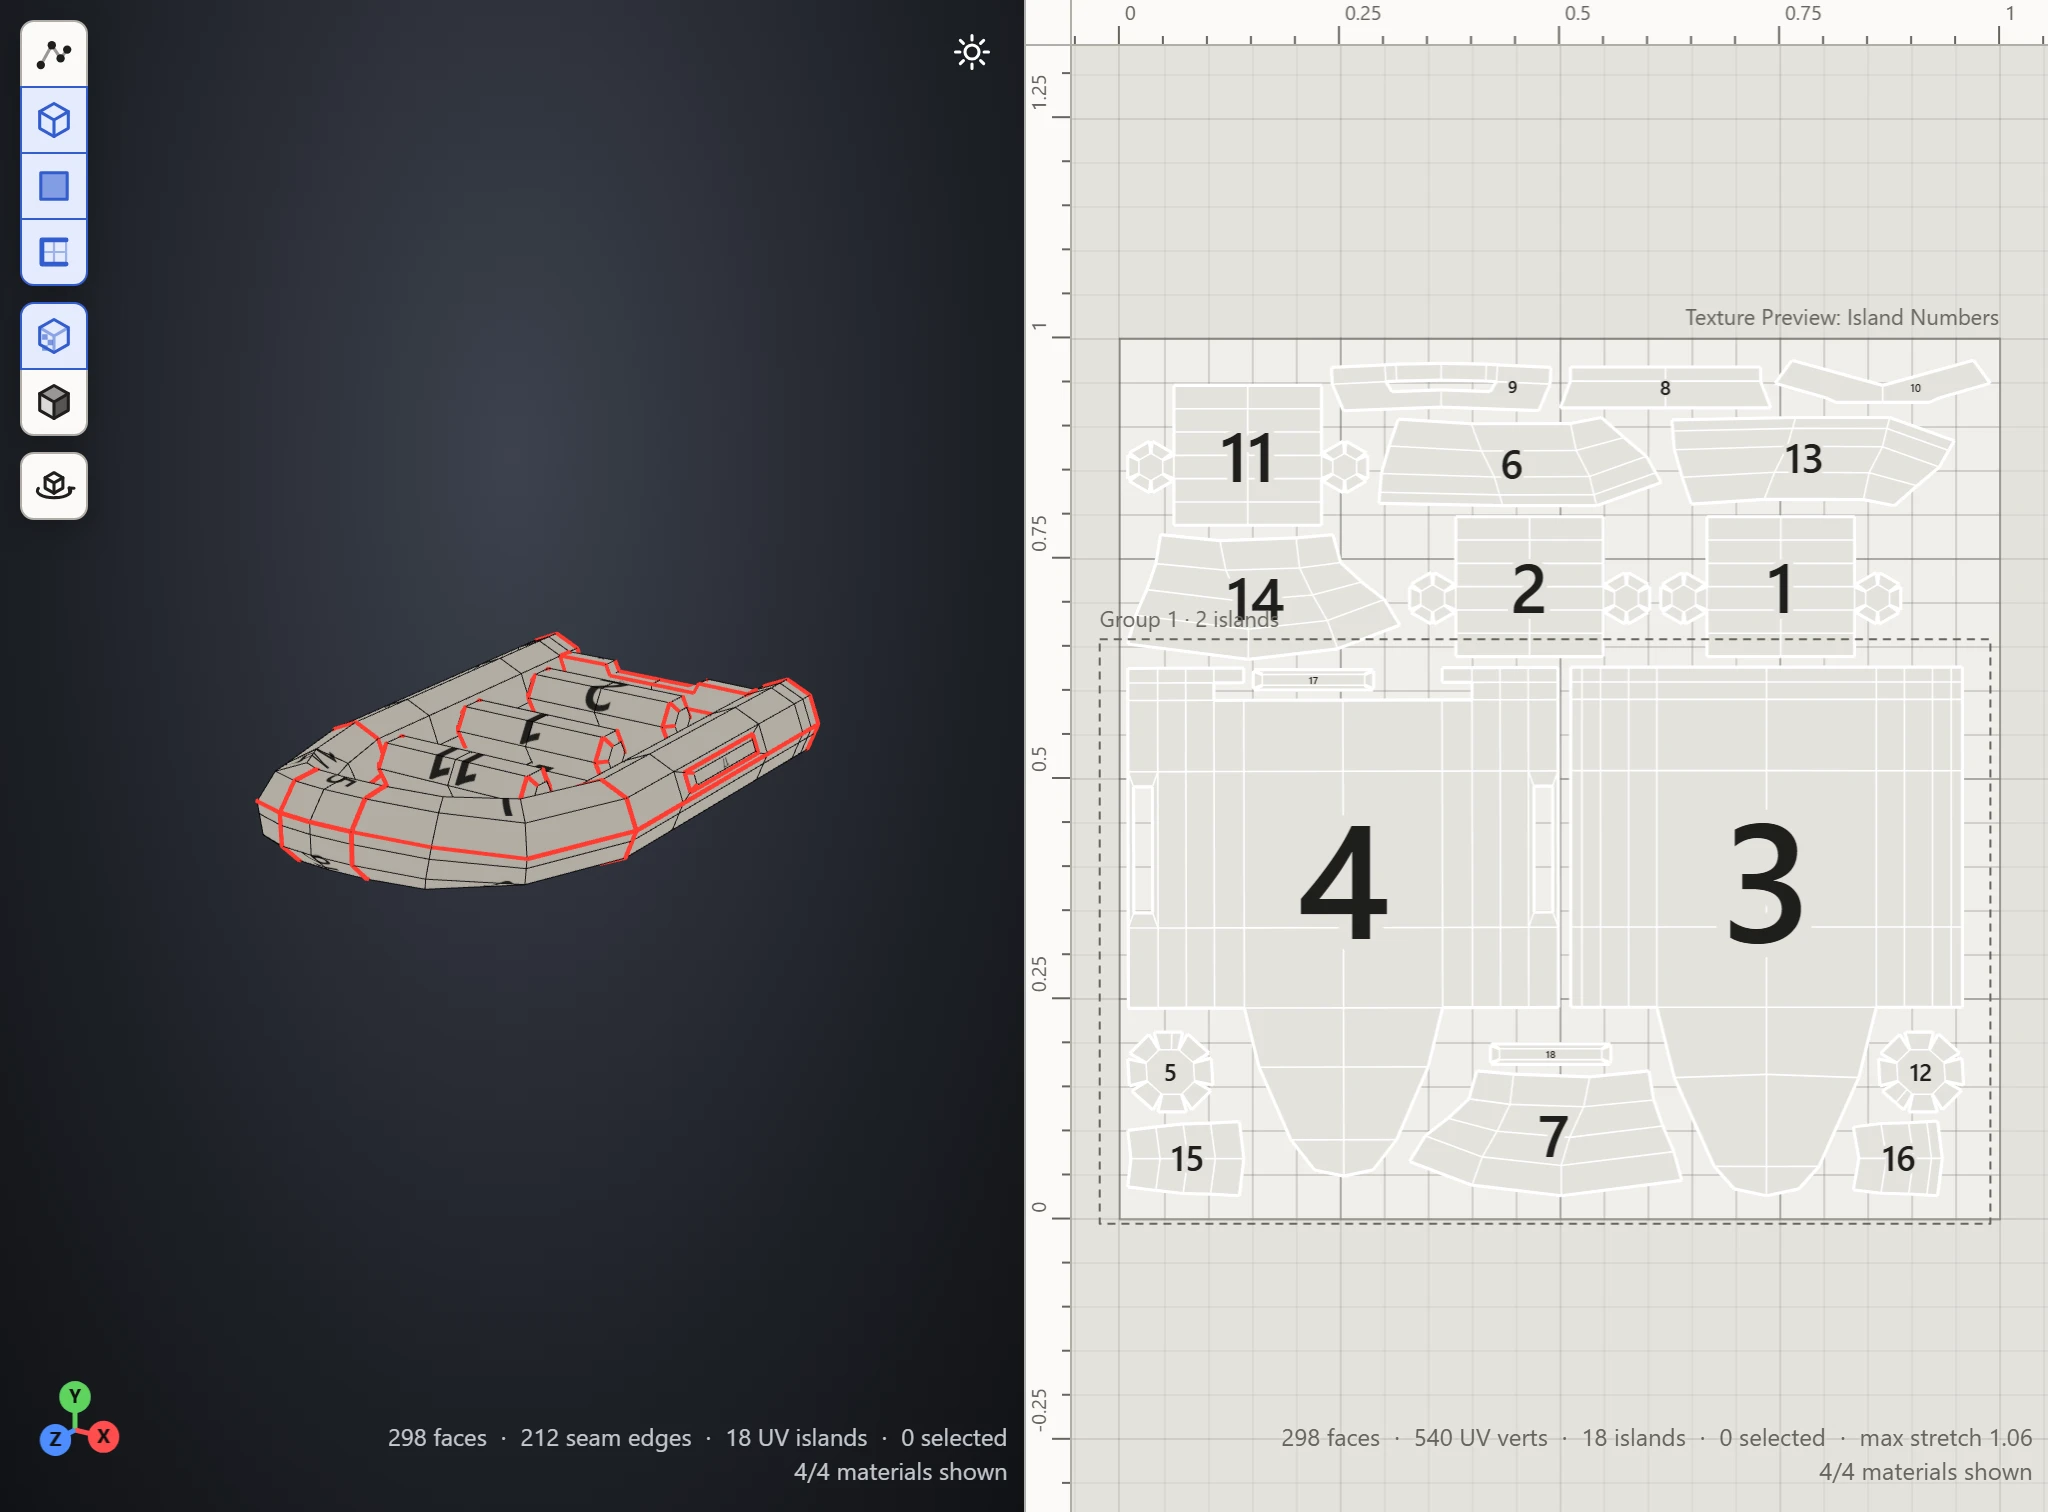
Generate UVs opens on the Stretch preview, with Textures on in the 3D View: red shows where a piece is pulled out of shape, on the model and in the layout.
Pick Checker in the Textures section's Preview to see how a texture will lie: on the cube, its squares come out square, and the same size on every face. See Color and Checker patterns.
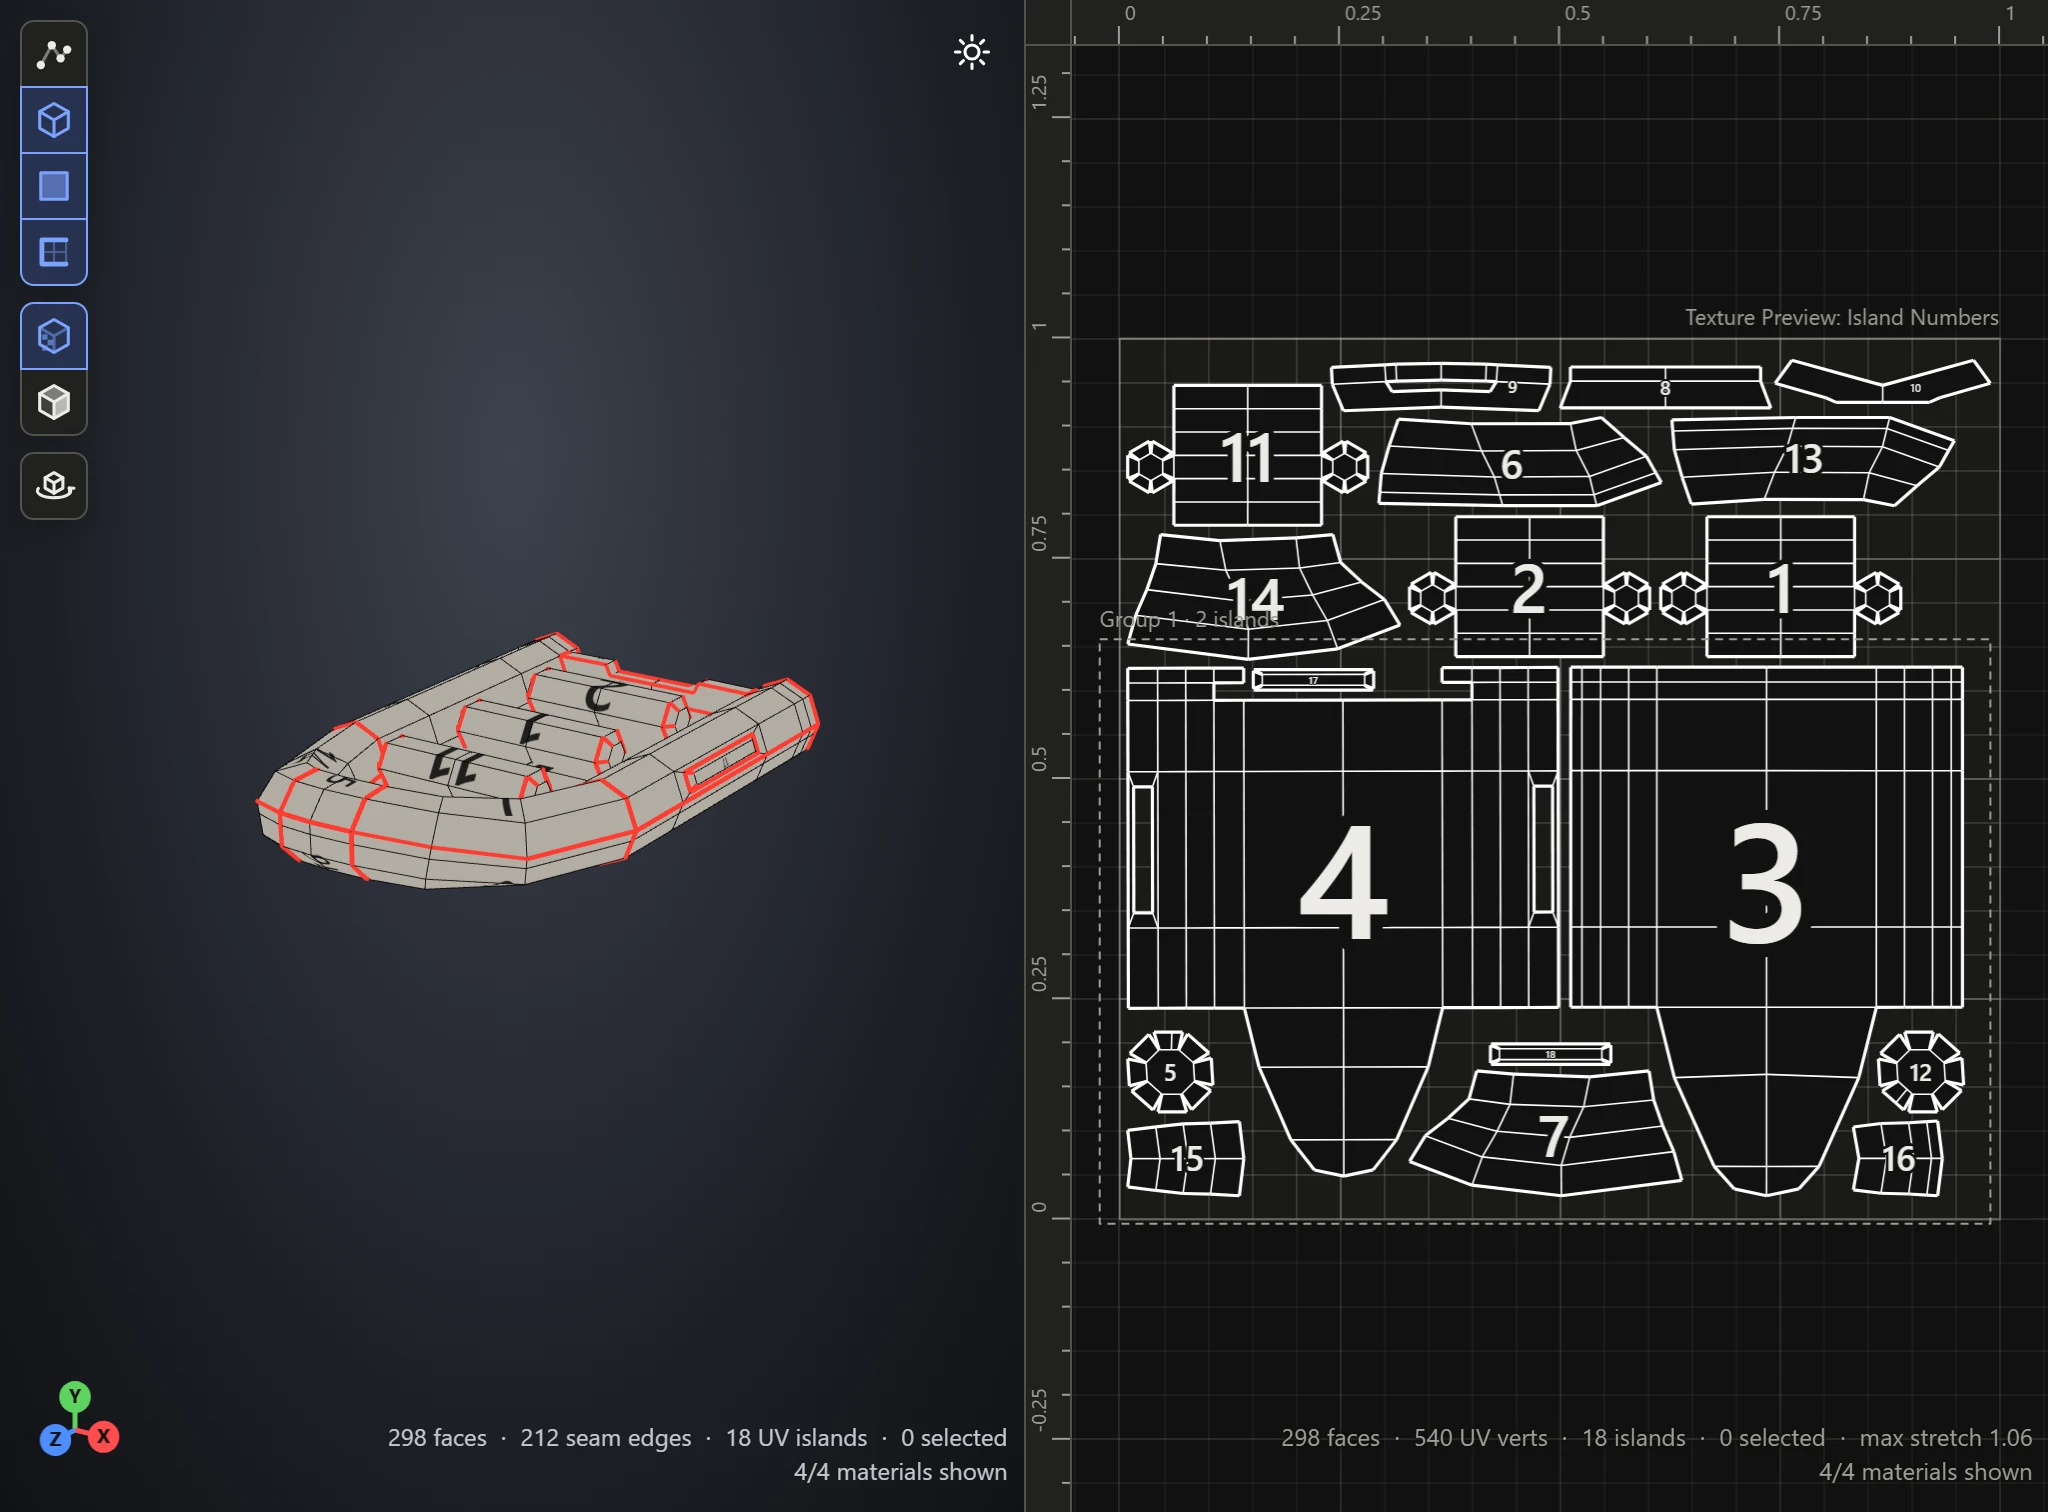
Pick Island, under Numbers in the Preview list, to see which piece of the layout is which part of the model.
Improve it
- Too much stretch: cut another seam through the red part, with Split, and click Flatten again.
- Too many pieces: Weld two pieces back together along their cut, and Flatten again.
- A seam in plain sight: weld it, and split one somewhere out of sight instead.
- Uneven sizes: click Normalize Scale, so the texture spreads evenly.
To choose every cut yourself from the start, see Unwrap a model with seams. Then save it.