Unwrap a model with seams
Generate UVs decides where to cut by itself. To decide for yourself, mark the seams: select the edges to cut, click Split, then Flatten. How many to cut, and where, depends on the shape, as these three show.
A cube, as a cross
Each of a cube's faces is flat, so they all lie flat with no stretch at all, and they can stay joined: cut only the seven edges a cross needs. Here they are numbered in red, with the cube's faces turned off to show the edges behind them.
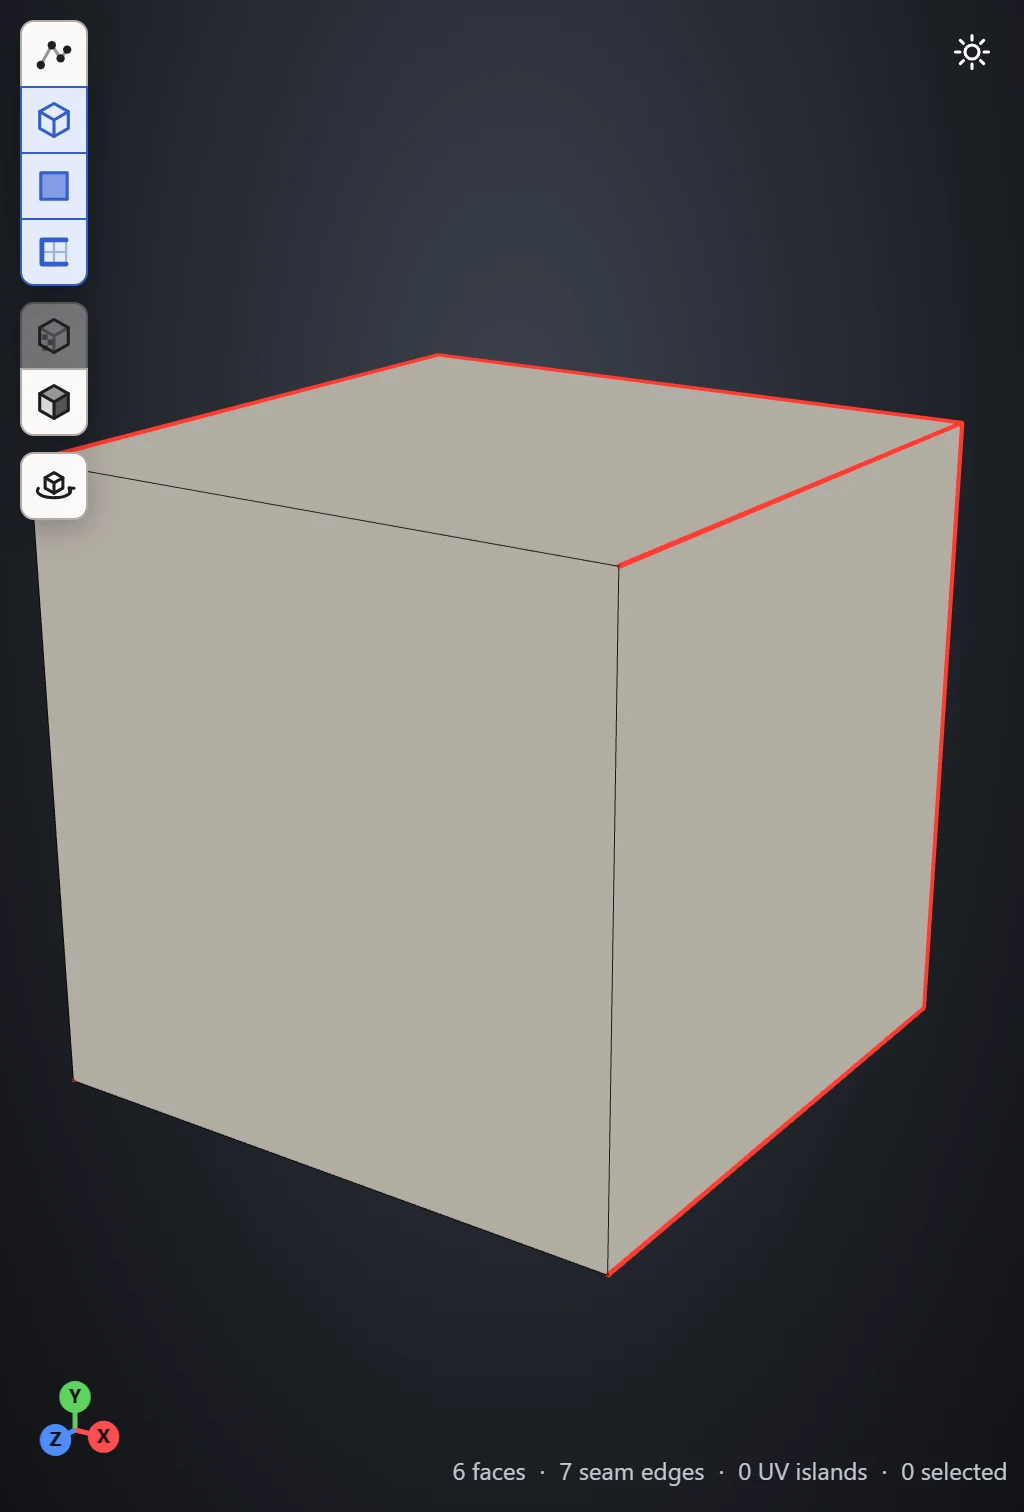
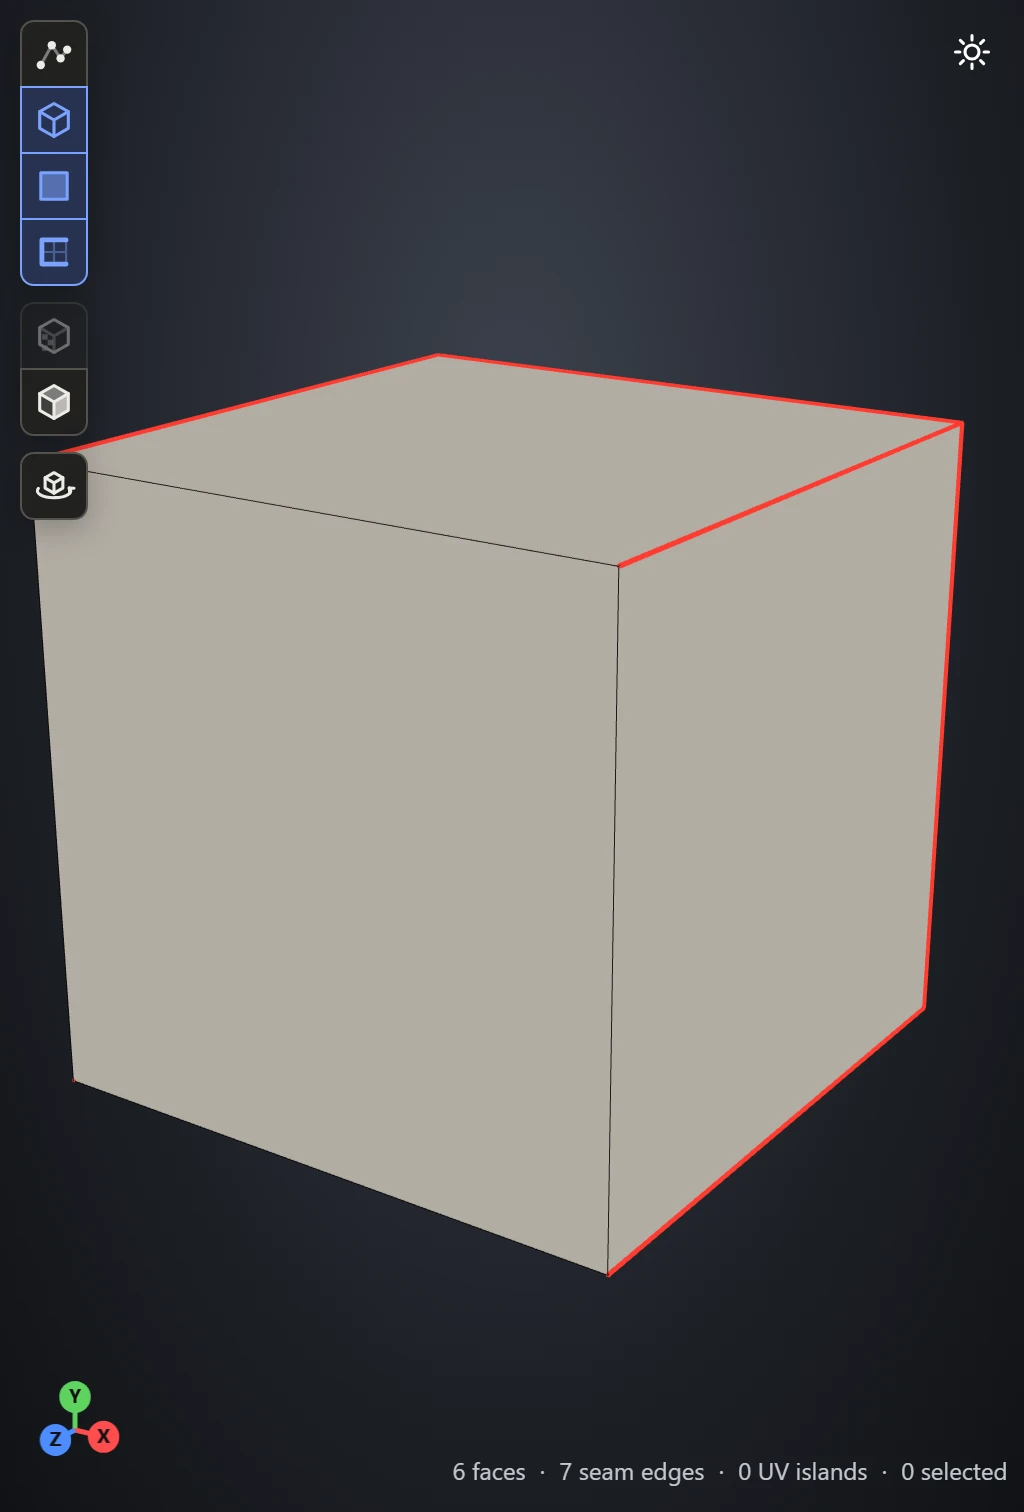
- Open File and, under Examples, with Pre-unwrapped unticked as it is to begin with, click the cube under Primitives. Then press 2 for Edges mode.
- In the 3D View, click edge 1, then Shift+click edges 2 and 3: every edge of the top but the one along the side facing you.
- Drag to turn the model, and Shift+click edges 4, 5 and 6: every edge of the bottom but the one along that same side.
- Shift+click edge 7, upright at the back.
- Click Split: the seven edges turn red, as seams.
- Click Flatten. The four sides lie in a strip, with the top and bottom either side of the one they're joined to: a cross.
A cylinder, in three pieces
A cylinder comes apart as three pieces: its two round caps, and its side, opened along one line to lie as a rectangle.
- Open File and, with Pre-unwrapped still unticked, click the cylinder under Primitives. Then press 2 for Edges mode.
- In the 3D View, double-click an edge of the top rim to select the whole rim. Then Shift+double-click an edge of the bottom rim to add it.
- Shift+click one of the upright edges down the side, from rim to rim.
- Click Split, then Flatten.
The upright seam is where the texture's two ends meet round the side: put it where it's least seen, such as at the back.
A sphere, as two hemispheres
A sphere can't lie flat without stretching, just as no flat map of the world is true everywhere. What you choose is how many seams to cut, and so how much it stretches.
- Open File and, with Pre-unwrapped still unticked, click the sphere under Primitives. Then press 2 for Edges mode.
- In the 3D View, double-click an edge round its middle, its equator, to select the whole loop.
- Click Split, then Flatten.
Each hemisphere lies as a round piece, stretched most toward its rim. Fewer seams, more stretch; more seams, less, but more places where a texture has to match across a cut.
Check it
Flatten turns on Textures in the 3D View, so the preview you pick in the Textures section shows on the model too.
- Stretch shows where the stretch went: the cube and the cylinder come out blue, true to their shape, and the hemispheres turn purple toward their rims.
- Checker shows how a texture will look across the pieces: on the cube, its squares come out square, and the same size on every face.
- Color shows which way a texture runs: on the cylinder, its squares run straight round the side.
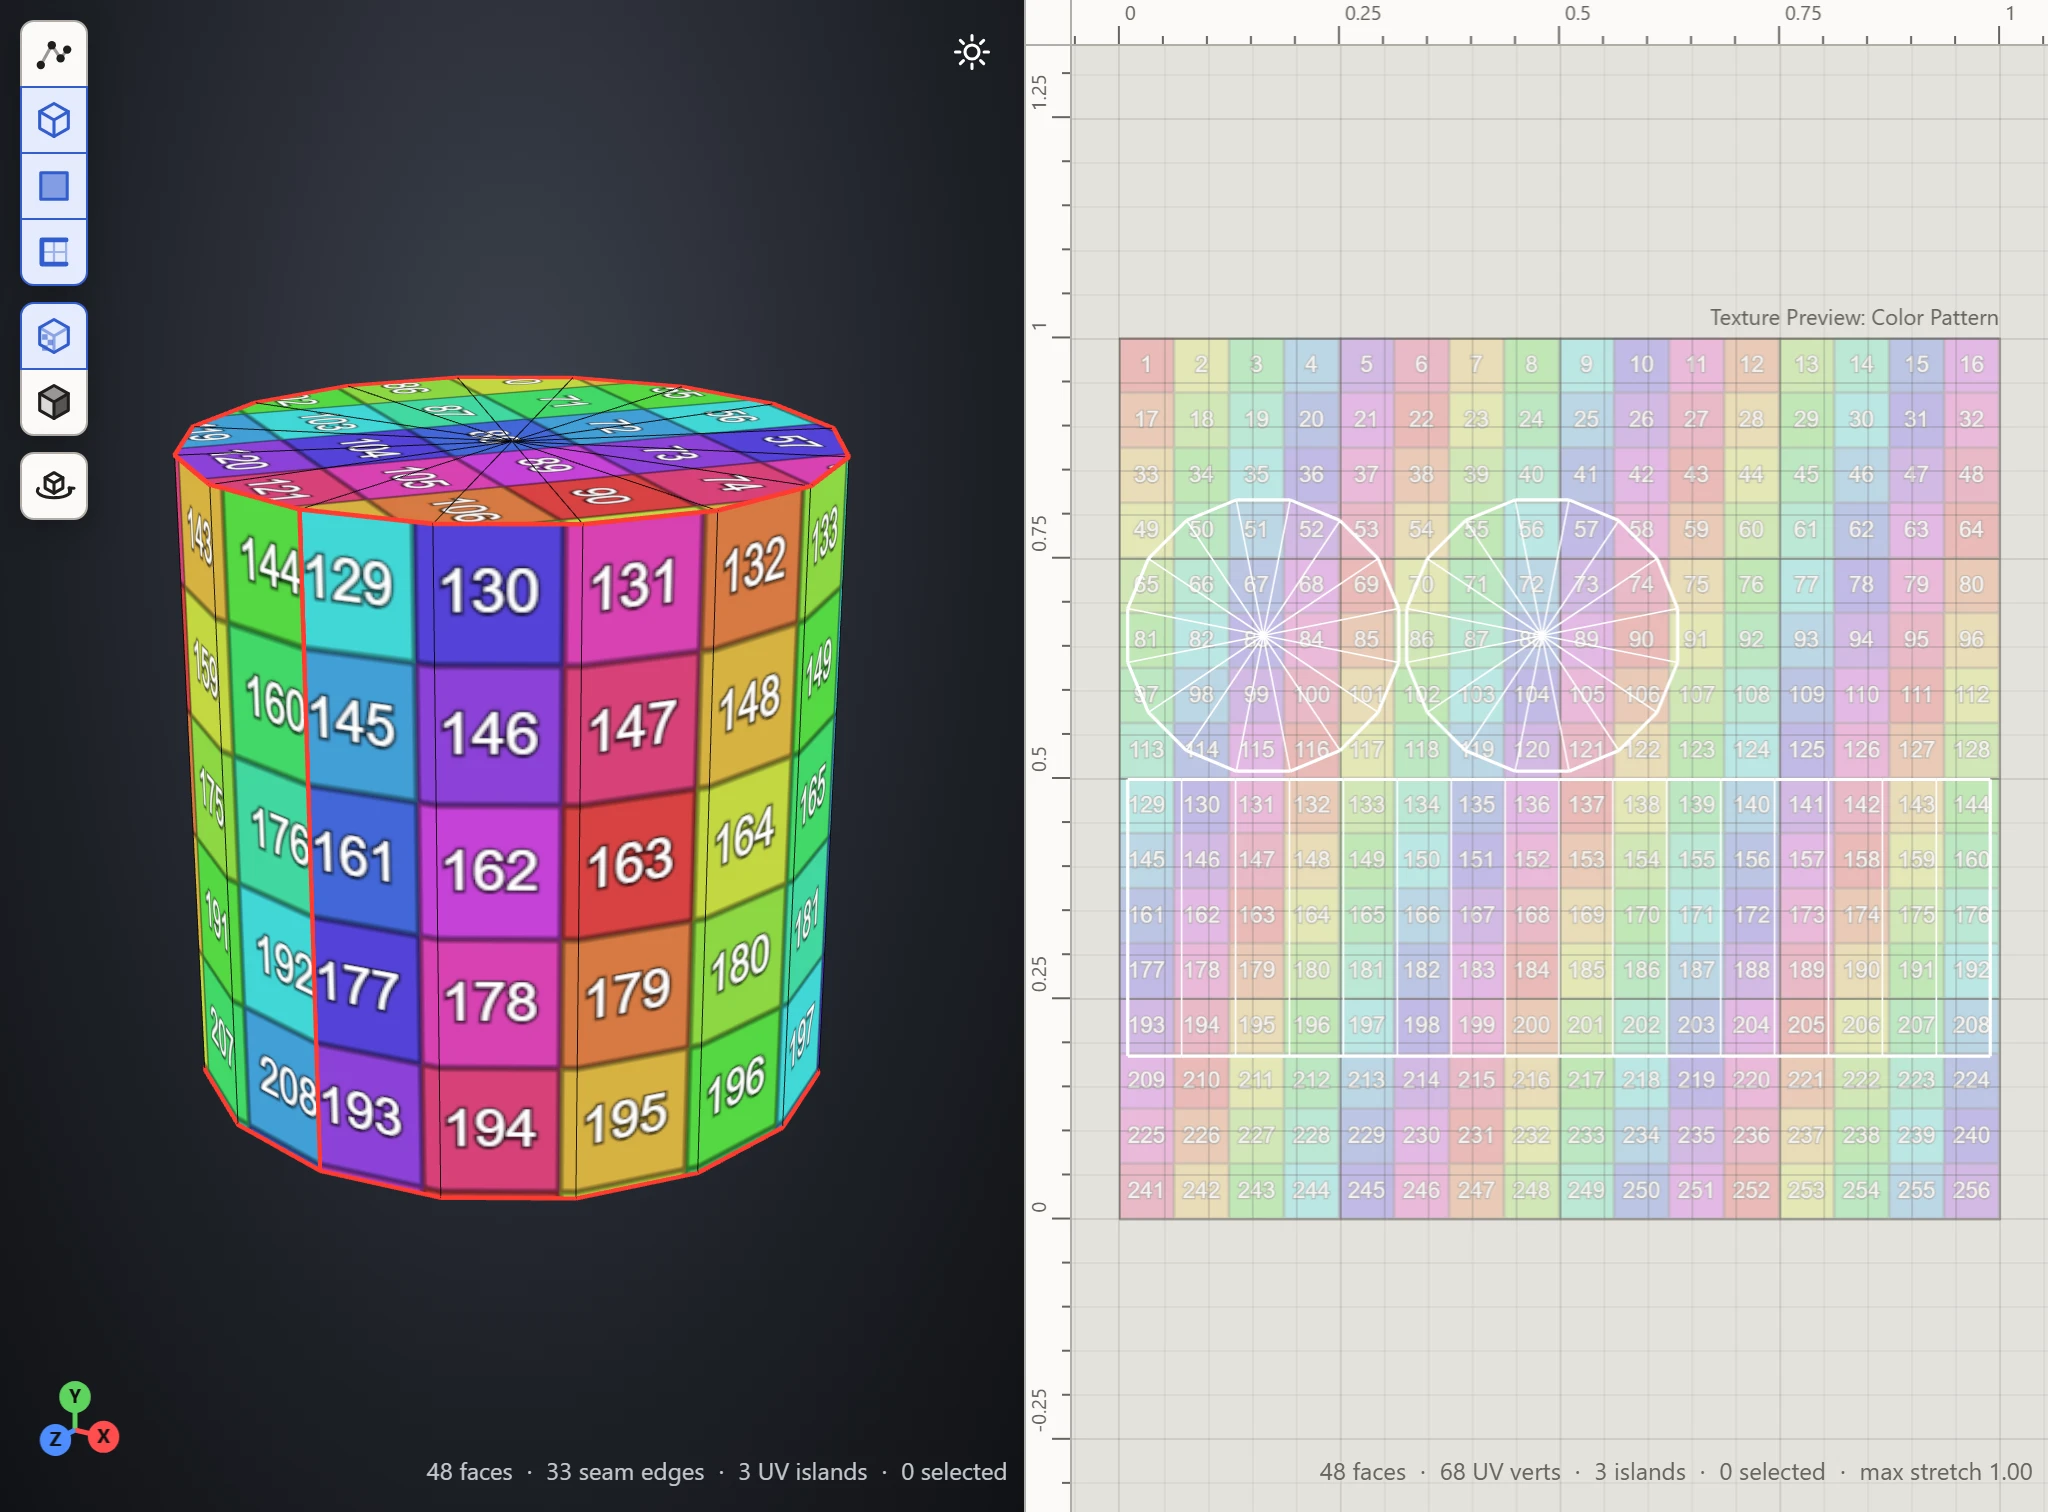
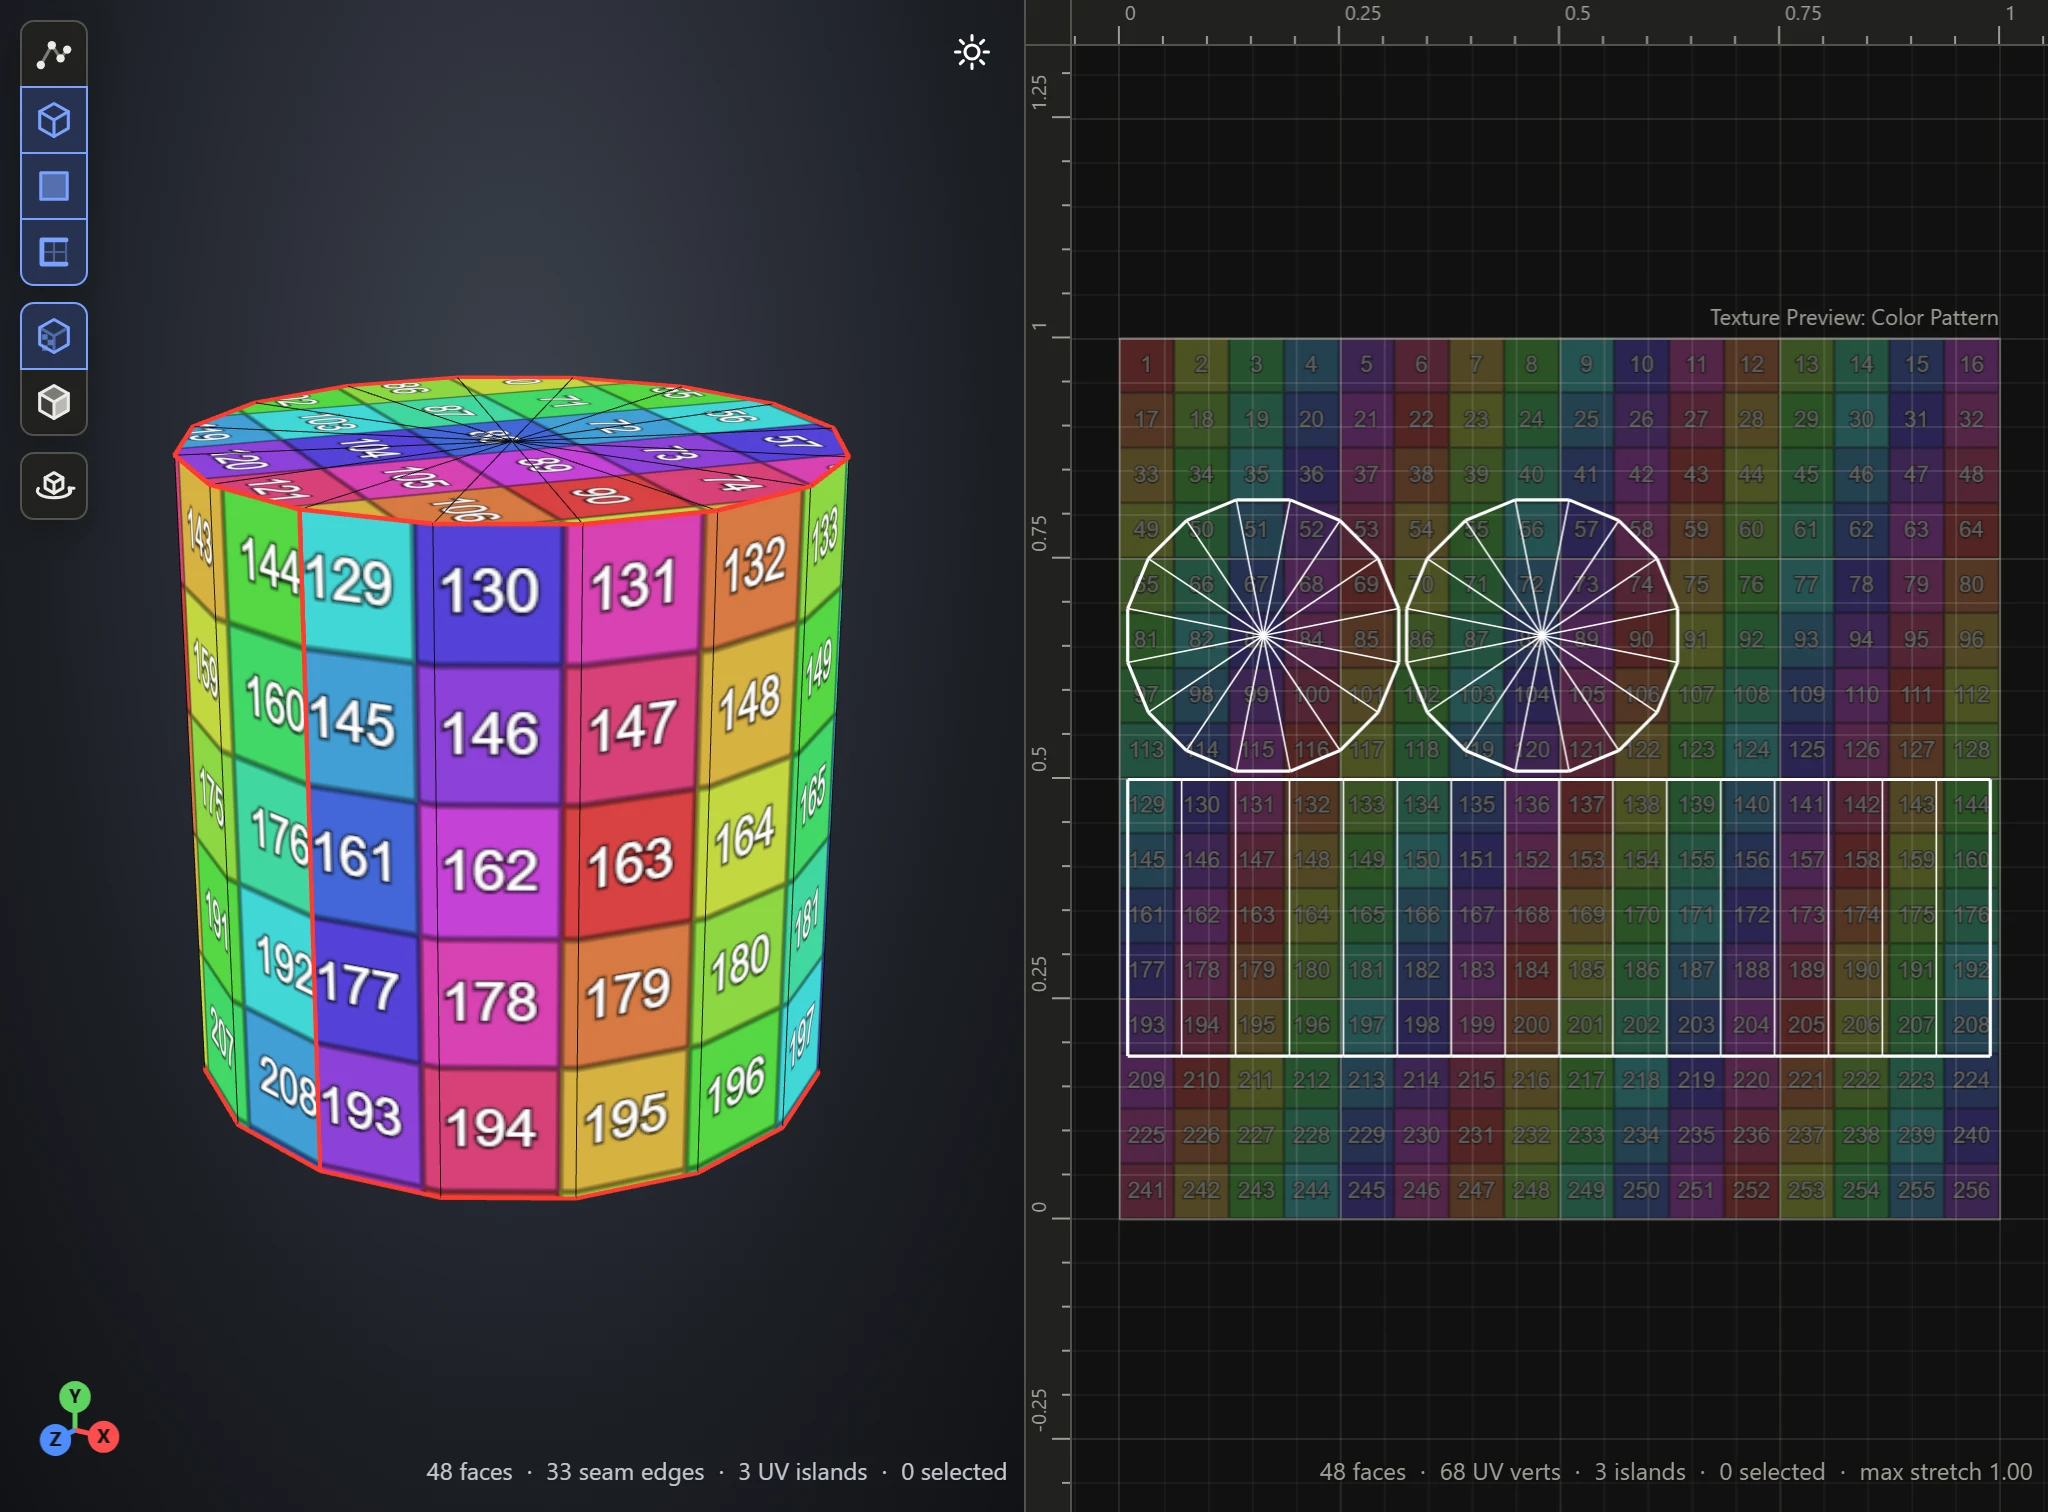
See Stretch and Texel Density and Color and Checker patterns.