Timeline
A .3ds or .i3d model with an animation plays it in the 3D View, with a timeline along the view's foot. Only how the model's shown changes: its UVs and the file stay as they are.
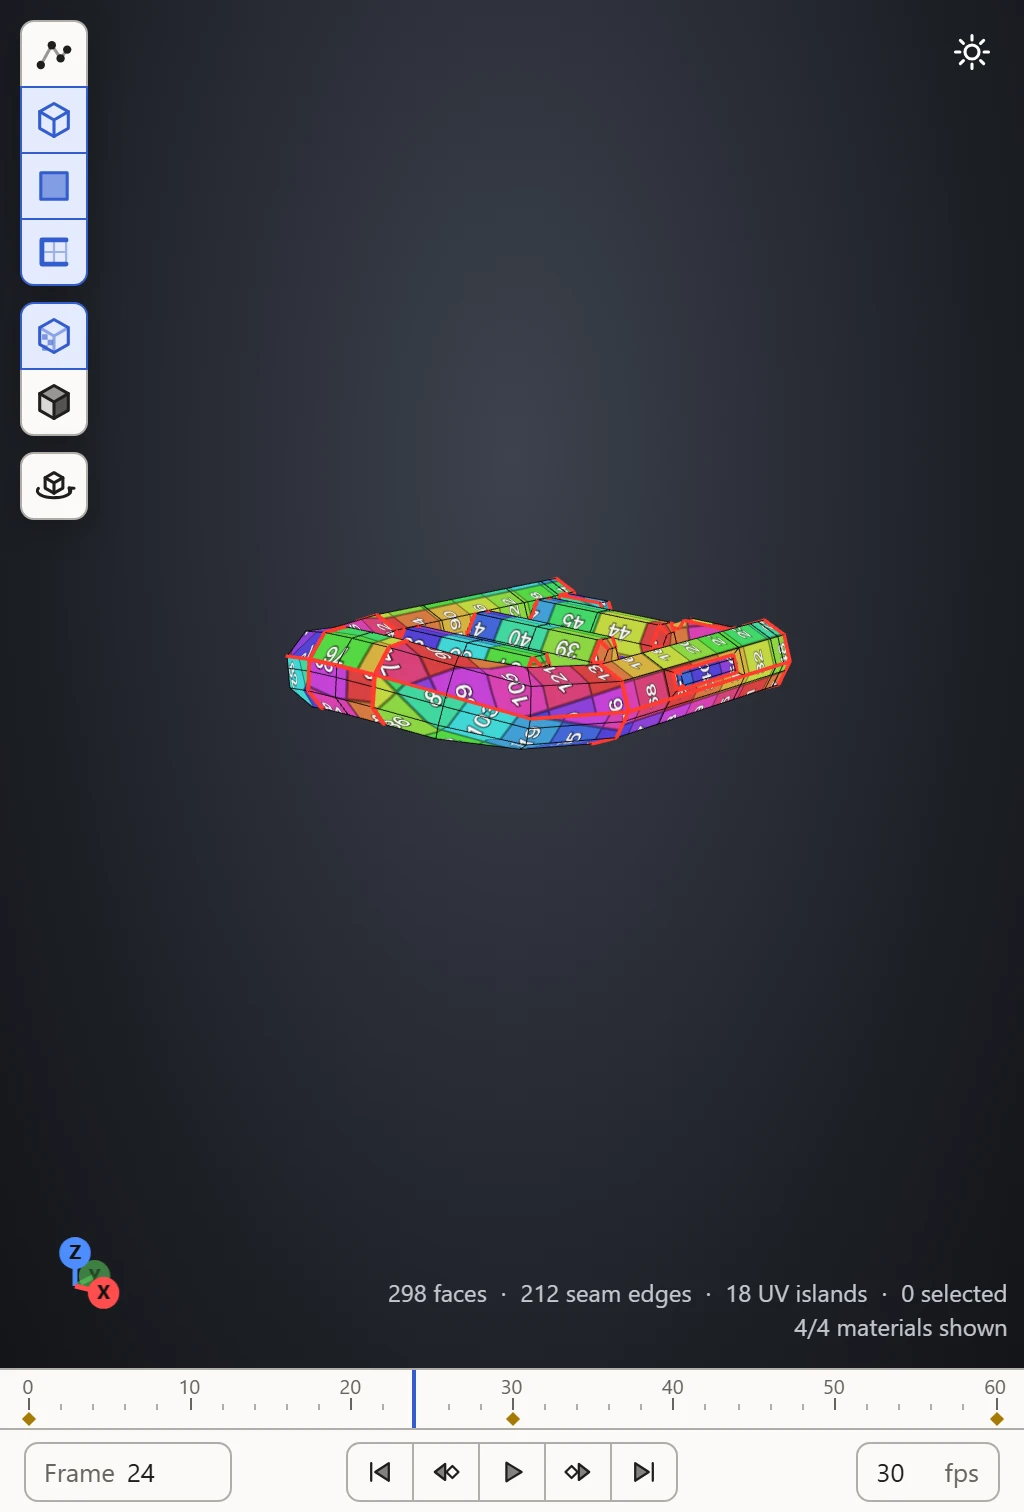
The ruler
The frames are numbered along the top, with each key in the file marked as a diamond. The playhead shows the frame showing: click or drag on the ruler to go to a frame. With the ruler focused, the arrow keys step a frame, or ten with Shift.
The buttons
Under the ruler, from the left:
- Frame: the frame showing. Type one to go to it.
- Go to the first frame, go to the previous key, play or pause, go to the next key, and go to the last frame. Playing goes round and round.
- fps: how many frames a second it plays at. It starts at the file's own rate, 30 for a .3ds and 100 for an .i3d. Type another to play it faster or slower: the file keeps its own.
Seeing the UVs move
Picking and the textures follow the model as it moves, so a texture shows where it lands on each part as it turns. The UV Layout doesn't change: UVs don't move with an animation.
Saving a frame
Saved as OBJ, or as a new .3ds, the model comes out posed at the frame showing. Saved back into its own file, its animation comes through whole.